Editing and Customizing Collections
Overview
Once you have created a collection, you can begin to personalize it with the collection editor. In this article, we will cover how you can easily rearrange resources, update your description and other details, make a copy, add more resources, and more!
Exploring How to Edit a Collection
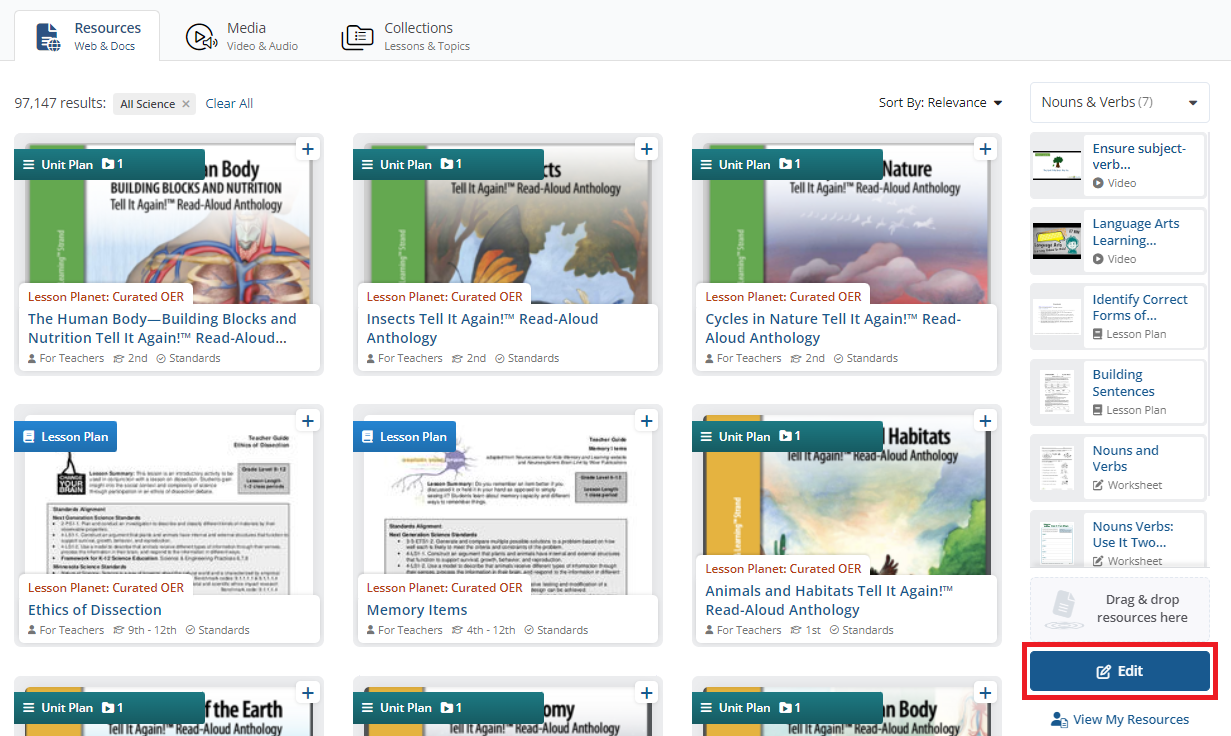
- From the Discover Resources search page, click on the Edit button at the bottom of the collection you built.
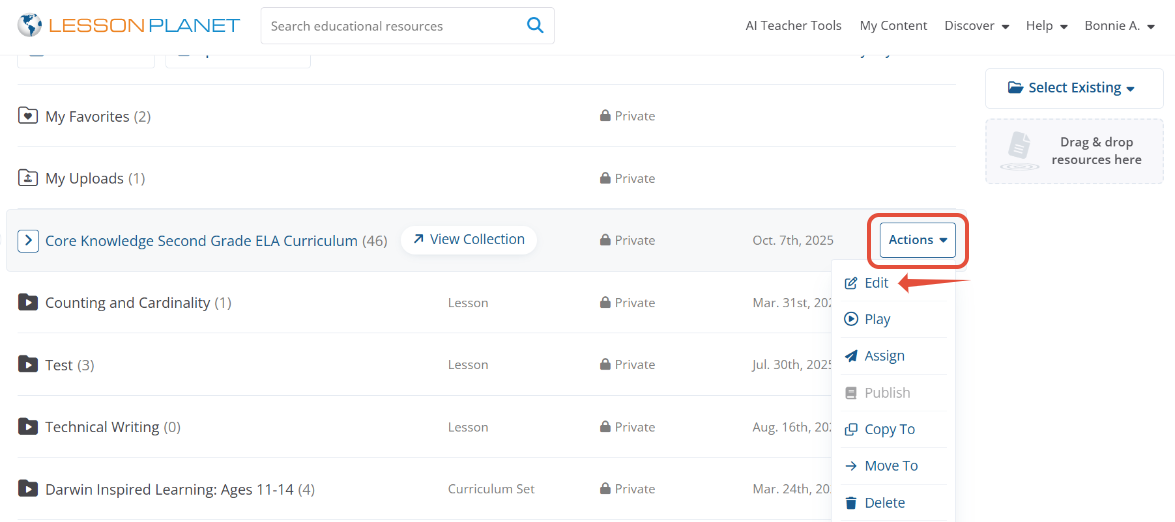
- If you are in your My Content space, click on the Actions button and select Edit.
- A window will open up with all the resources you added to that collection. Here is where you can do the following to personalize and edit your collection:
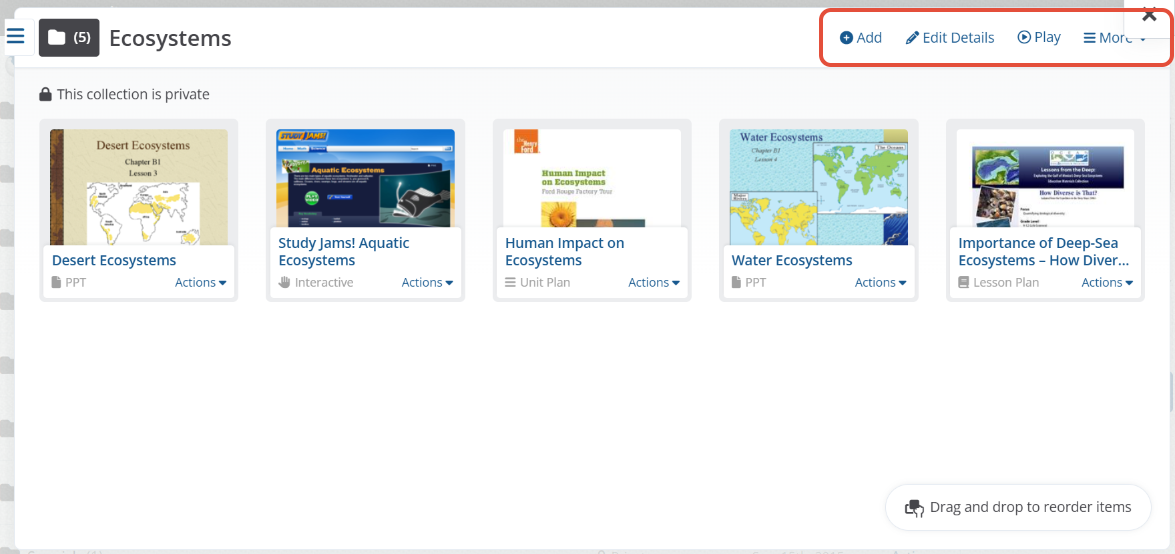
- Rearrange the order of the resources within the collection by dragging and dropping
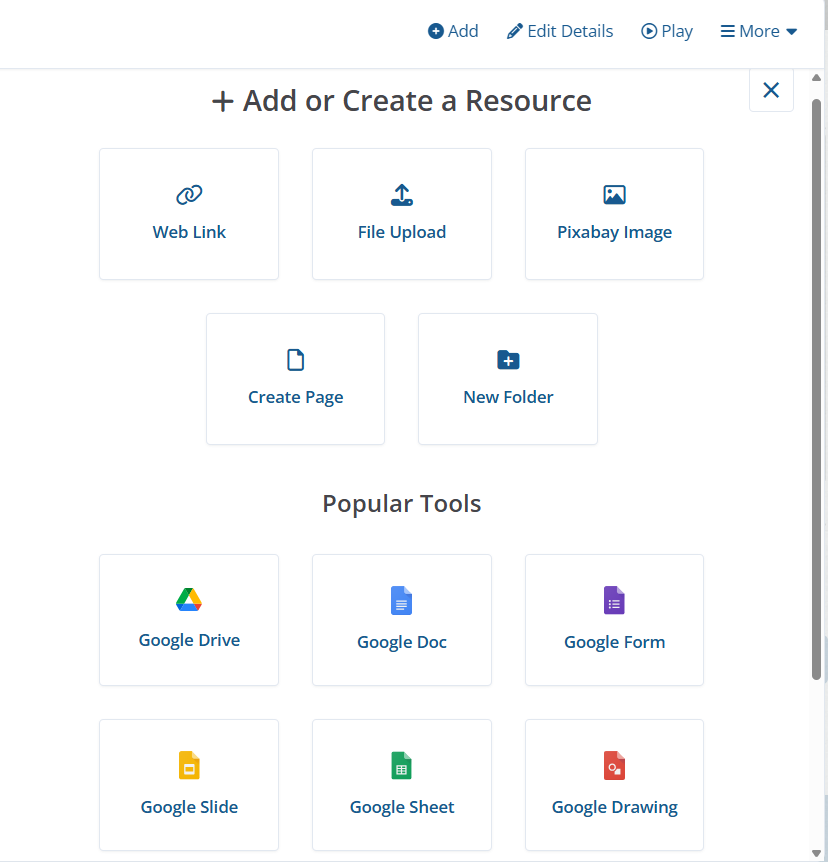
- The +Add button allows you to add resources from other platforms, upload a file from your computer, add an image from our Pixaby library, or add a web link. (We will take a deeper dive into each of these in the Customizing Collections section.)
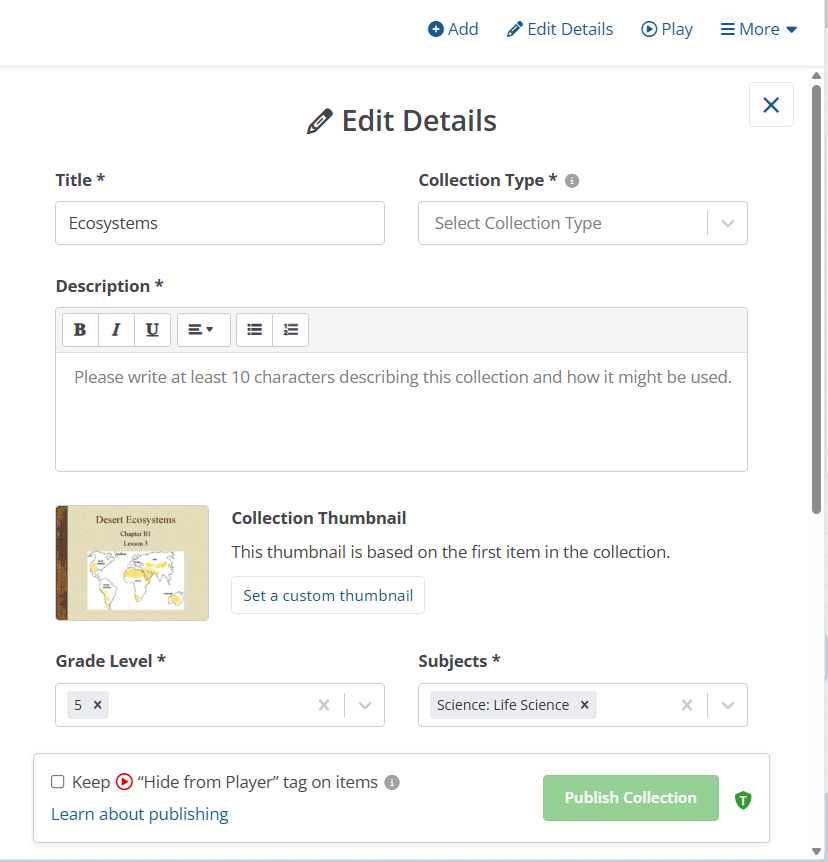
- If you want to change the title of your collection, the description, the grade or the subject, simply click on that Edit Details button.
- Play your collection so you are able to preview it before sharing with your students.
- If you click on the Actions button from each resource, you can do the following:
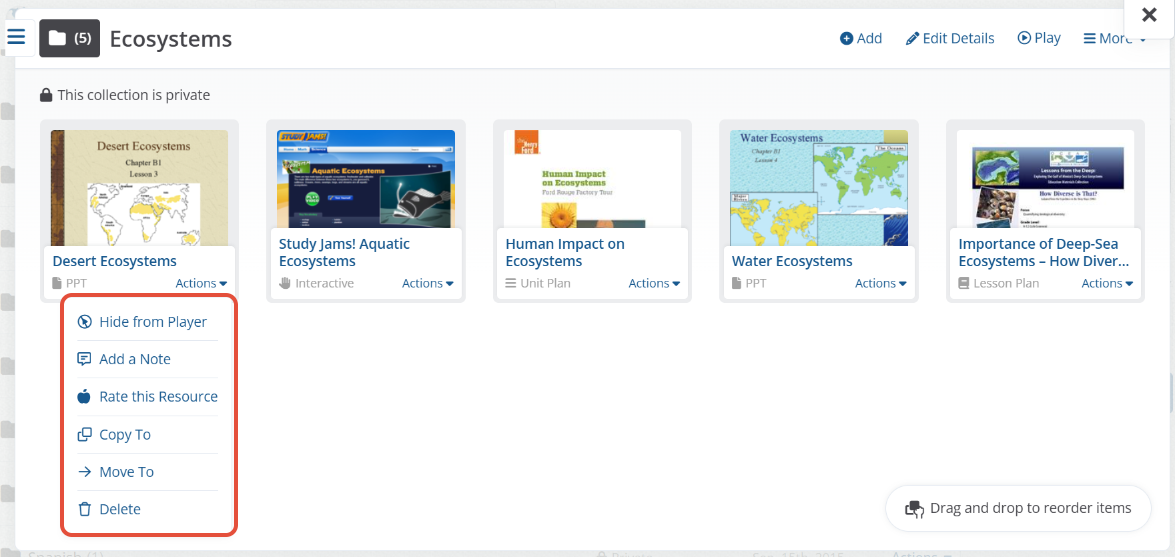
- Hide from Player: Allows the resource to be hidden from the player view for the students, but still keeps the resource in the collection to be gradually released to learners if and when relevant.
- Add a Note: Educators can choose between adding a student-facing note to help guide instruction or a teacher-facing note to put reminders, talking notes, prompts to ask students, and more! (see GIF image below)
- Rate this Resource: If you really like this resource, give it a rating! Your rating will be publicly shared to the rest of the Lesson Planet online community.
- Copy To: Differentiate instruction with multiple lesson collections and easily copy resources to personalize instructional materials for different groups of learners.
- Move To: Move learning objects to different lesson collections to maintain an organized, robust sequence of learning objects for every lesson.
- Delete: Permanently remove a resource from your collection.

Customizing Collections
Lesson Planet's robust library of learning objects makes creating the foundation of any lesson easy, but personalizing is what makes lesson planning fun and unique for your classroom! Enhance any lesson collection with our suite of customization tools that are found under the +Add feature of your collections.
How to Utilize Each Tool Under +Add
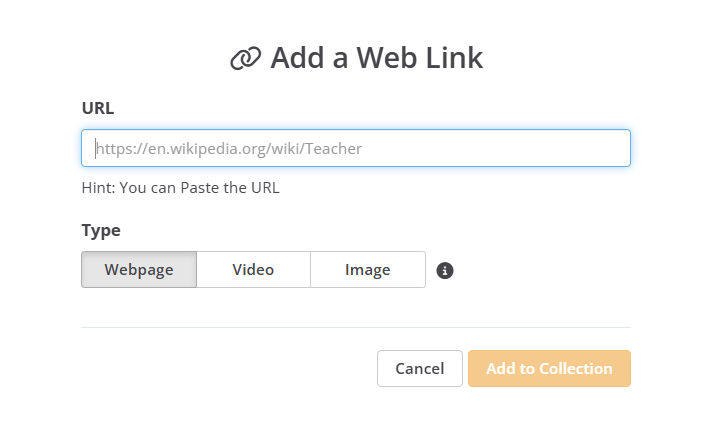
- Web Link:Allows you to add any link to your collection with a simple copy-paste.
- Find a link you wish to use and then copy and paste it into the Web Link tool
- Select the added media type
- Click Add to Collection, and then rearrange the link to fit with the flow of your collection.
- Upload a File:Choose any file from your computer to put in your collection.
- Click on Choose file... and select the file you would like to add from your computer
- Give it a title and then click on the Upload button.
 Note: Any file you upload directly to a collection can also be accessed in your My Uploads section in your My Content space.
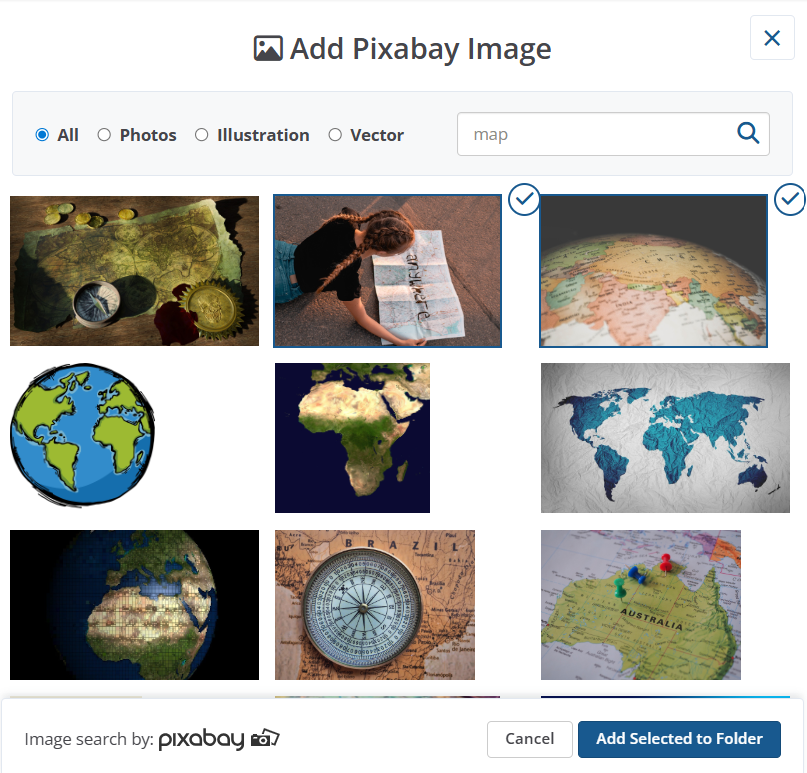
- Add a Pixabay Image:Add high-quality images directly to your collection with Pixabay's image search.
- Type a descriptive term into the search bar(you can also select an image type if you want something more specific).
- Click on the image(s) you want and then select Add Selected to Folder.
- Create a Page: Create custom pages to use in your collection and edit them at any time. This page can be used to create a table of contents, list out student directions, craft a problem-solving task, embed a video with questions, or insert a calendar.

Still need help? Submit a request.